
Shopping Cart

- -15%
If you want to make an original countertop, or restore the one you already have, or make a table, we are going to explain step by step how to make it, we are going to link you to the products that we are going to use, with a new technique that is also in fully current in the decoration sector.
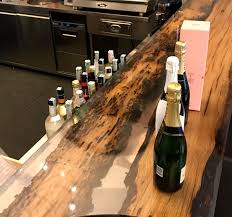
Mixing the epoxy resin set and the hardening catalyst, colored or metallic pigments to give it color, we will get countertops with a glass or mirror effect. The result is fantastic!
KEEP READING TO SEE THE MANUFACTURING STEPS AND SEE THE PRODUCTS YOU NEED.
We are manufacturers of paint, here you will find high quality Spanish-made epoxy resin.
STEPS TO FOLLOW IF YOU WANT TO CREATE A WORKTOP WITH TRANSPARENT EPOXY RESIN, AND PIECES OF WOOD OR OTHER OBJECTS IN ITS INTERIOR.
STEP 1
We must make a MOLD with a melanin board so that the resin does not come out when pouring it.
Once the mold is made, we will spray it with silicone to later be able to take off the piece more easily.
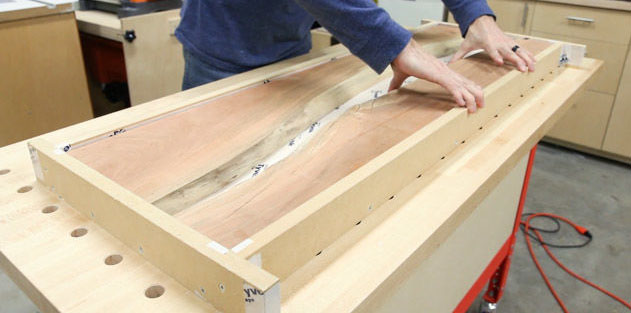
STEP 2
We put the pieces of wood, bottle caps, corks, etc ... inside the mold, giving it the shape that we like the most.
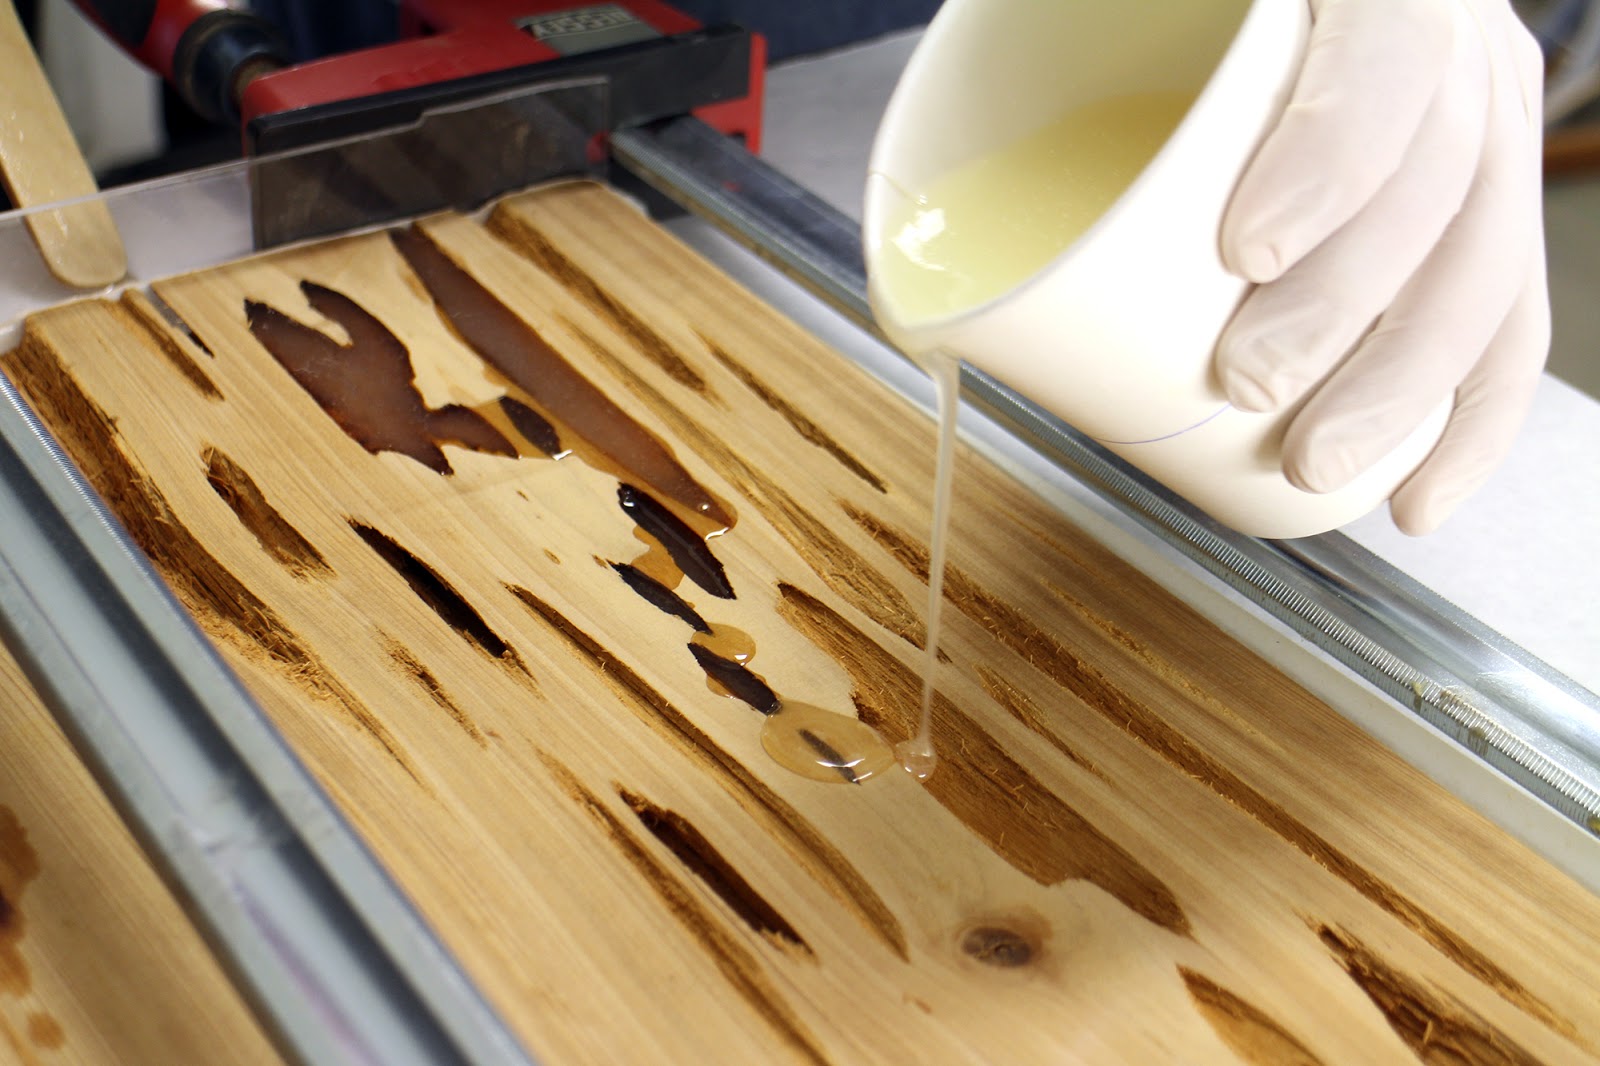
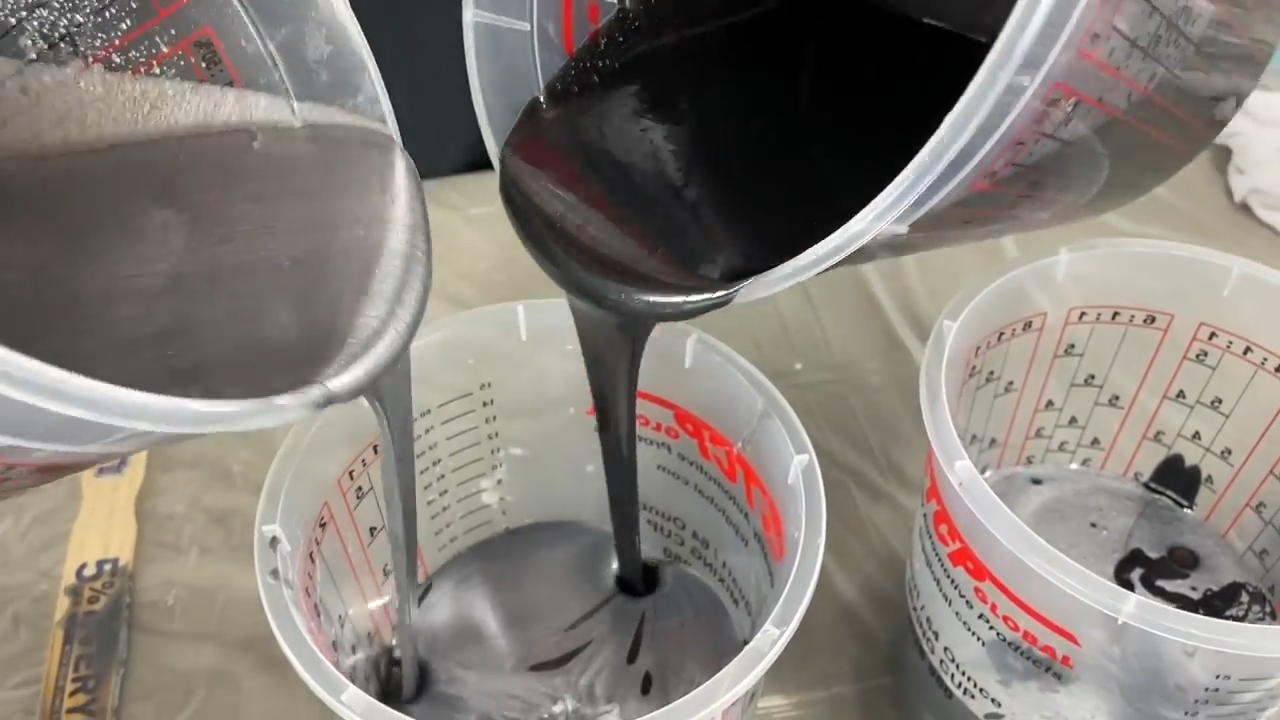
We mix the epoxy resin with the catalyst and if we want to add metallic pigments or dyes, we must incorporate them at this moment in the mixture with the varnish and stir it thoroughly.
We must follow the instructions for applying the epoxy resin with the catalyst, provided by the manufacturer, since the mixture has to be in the right proportion, we must not forget that this mixture has a life time.
What does it mean that epoxy resin has a shelf life? The mixture of the epoxy resin and the hardening catalyst, from the moment the resin and the catalyst are mixed, the mixture begins to harden, so we must use it in the time specified by the manufacturer in the technical data sheet of the epoxy resin. , since after a few hours, it will have hardened so much that we will no longer be able to use it.
STEP 3
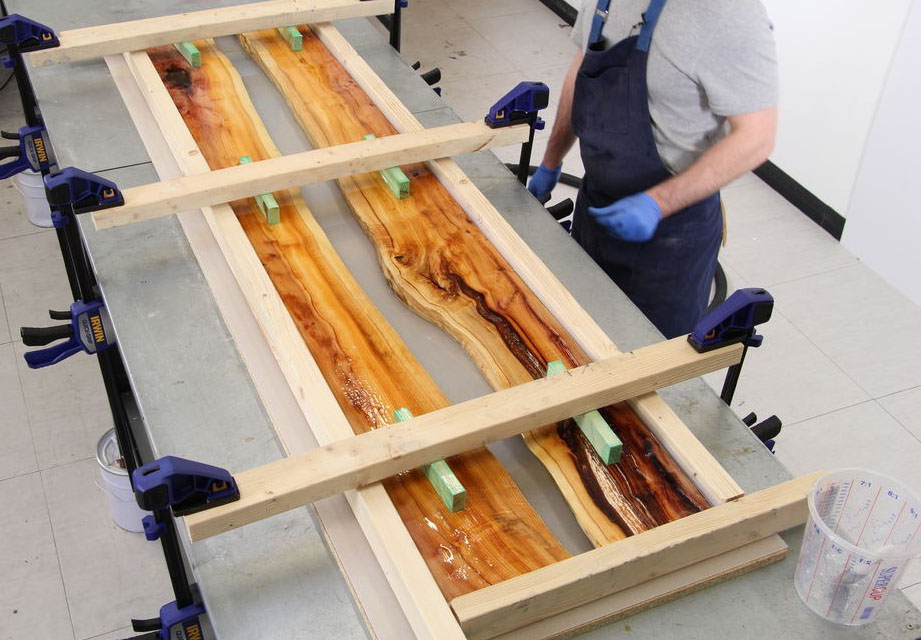
Before pouring the resin, we will make sure that the planks that will form the countertop are perfectly positioned and secured so that when pouring the mixture, they do not move, and we proceed to pour a mixture of 100% high thickness self-leveling two-component epoxy resin. solid.
Let it dry for 24 hours and pour a second layer if necessary, if the thickness we want to achieve is very high.
CLICK HERE IF YOU WANT TO BUY TWO-COMPONENT EPOXY RESIN, 100% SOLID, SELF-LEVELING AND TRANSPARENT ![]()
Depending on the thickness we want to achieve, we can add more layers, not too thick, so that many bubbles do not come out, you can follow some tips that we give you in this other article of our blog where we give some tips to avoid bubbles in the epoxy resin .
STEP 4
With the resin already dry, we carefully remove the mold. Possibly it will weigh a lot, so we advise you to prepare the area where you are going to leave it, so as not to hit or rub the piece, as long as it does not reach its full hardness.
Depending on the finish we want to achieve, we will use sandpaper of different thicknesses to sand the piece, if necessary.
We will start with the hardest and finally polish with very fine ones.
ADVICE
The maximum hardness of the exposed resin and the catalyst is achieved between one week and three weeks after it has been made. It will depend on the thickness of the piece, so we recommend that during the first days, you handle the countertop, trying not to hit it hard or scratch it.
You can line it with paper or cardboard until it reaches its maximum hardness to protect it.
................................
STEP 1
It is essential that, before painting the countertop, you prepare the surface well.
Degreasing the countertop is one of the most important steps, you must clean the surface of grease or oil well, you can use a cleaning solvent or its degreaser.
If we don't clean the surface well, the paint won't stick, so over time, the paint could come off.
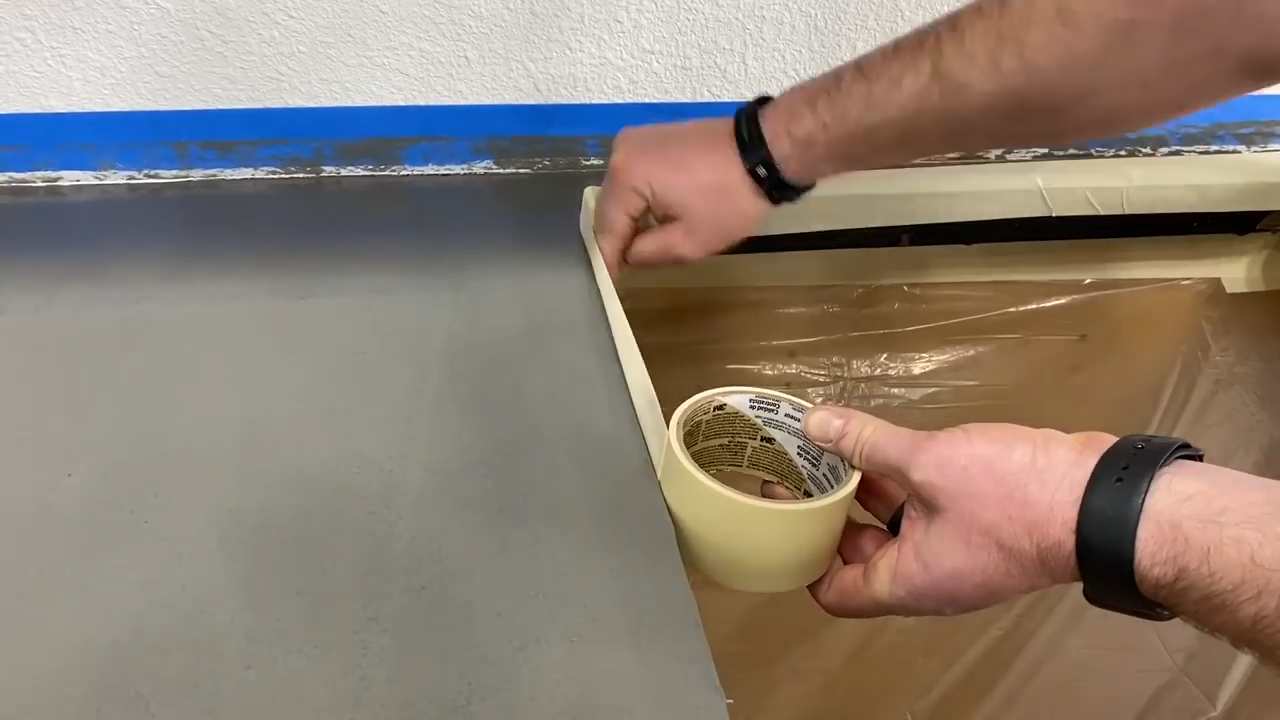
Next, we must ensure that all areas around the countertop are well covered and protected so that they cannot be stained during the process of painting the countertop with epoxy resin. Remember to cover the ground well, because paint will surely fall on you.
You have to cover with plastic, and with race tape all those areas susceptible to staining and that we will not want to paint.
We put a link to the products that you can use to protect or mask all surfaces.
CLICK HERE, IF YOU WANT TO BUY ALL THE NECESSARY PRODUCTS TO PROTECT AND COVER SURFACES ![]()
STEP 2
Before applying the finishing epoxy resin, apply an epoxy resin primer to improve the adhesion of the paint on non-porous surfaces.
APPLY A TWO-COMPONENT NON-POROUS SURFACE PRIMER
P INCHA HERE TO ACCESS THE PRIMER EPOXY TWO COMPONENT FOR NON - POROUS SURFACES. ![]()
Once the epoxy primer for non-porous or difficult-to-adhere surfaces has been applied, and after it has dried, after about 24 hours, you can start painting and renovating your countertop with the epoxy resin.
You can apply the paint in the color that we like the most. We can manufacture the epoxy resin in any custom color.
CLICK HERE TO BUY EPOX RESIN, I 100% SOLID, SELF-LEVELING IN CUSTOM COLORS ![]()
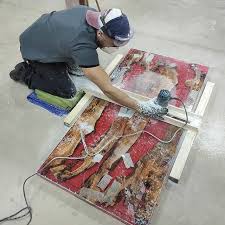
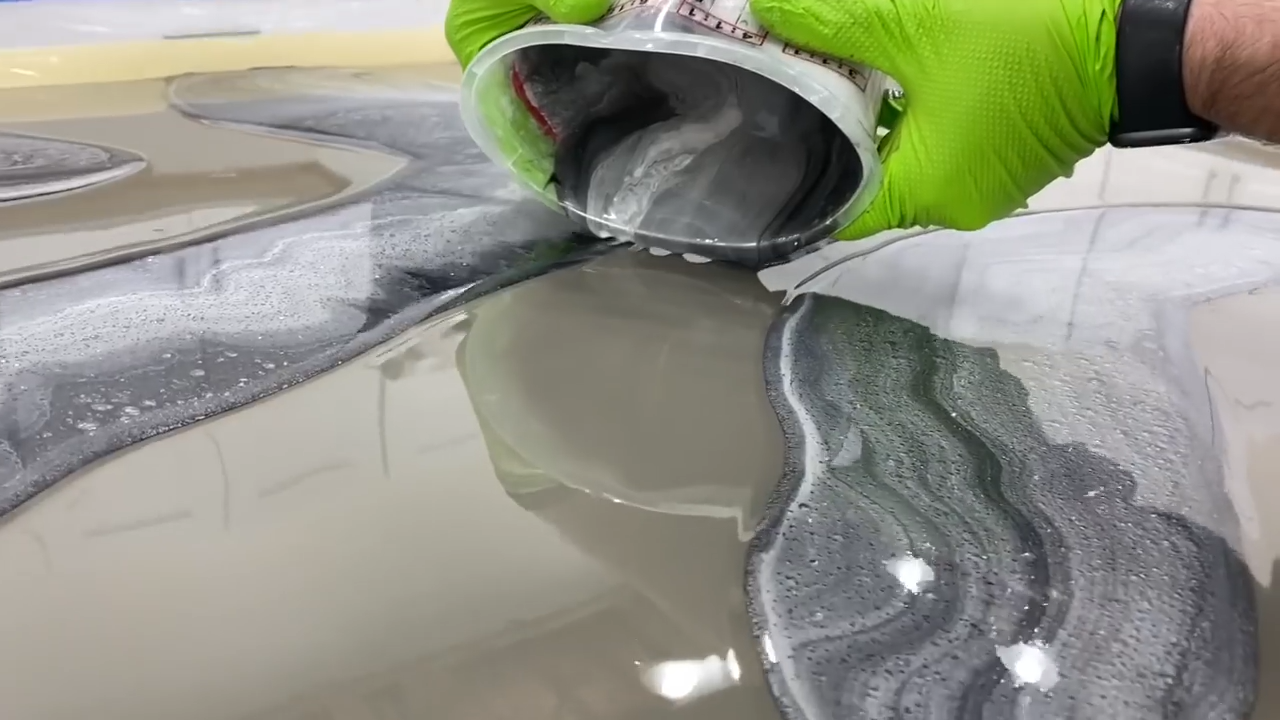
You can also use different colors, to make drawings, imitation of marble, or just let your imagination run wild to make an abstract shape.
You can also use a transparent epoxy resin and add aluminum paste or different shades of metallic pigments to achieve other types of effects.
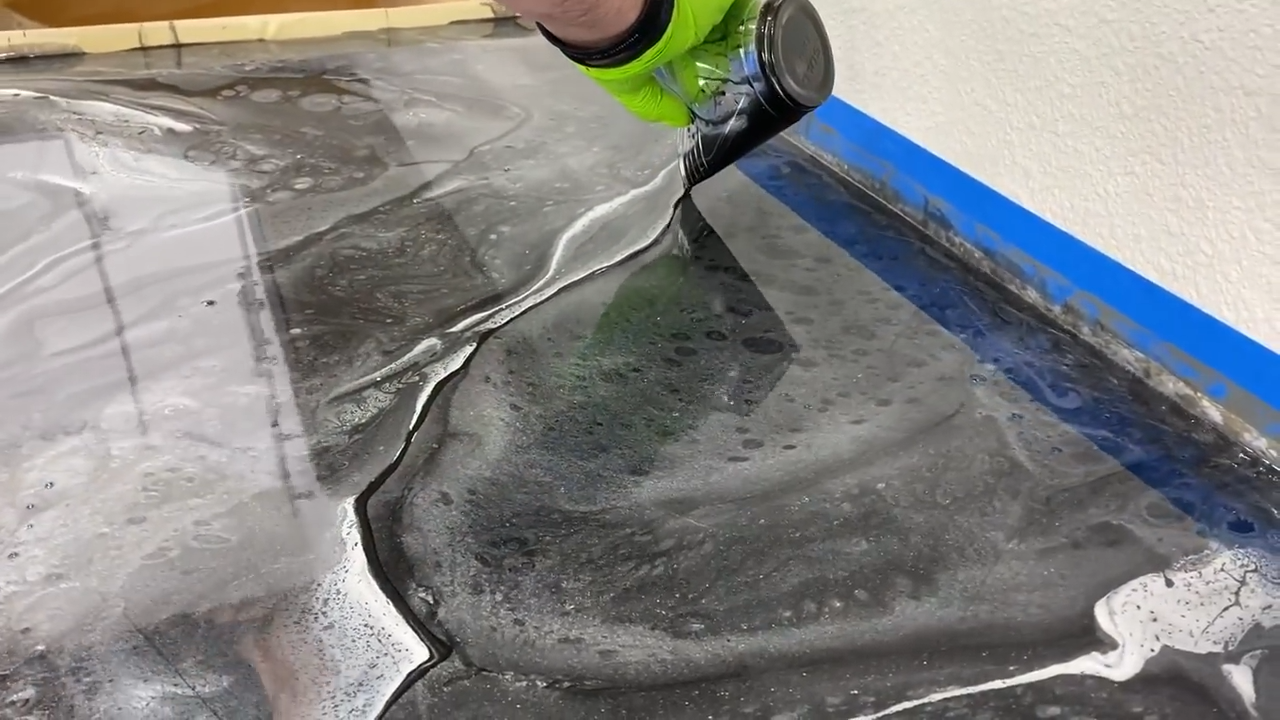
CLICK HERE TO BUY TRANSPARENT EPOXY RESIN TO ADD ALUMINUM PASTE OR METALLIC PIGMENTS. ![]()

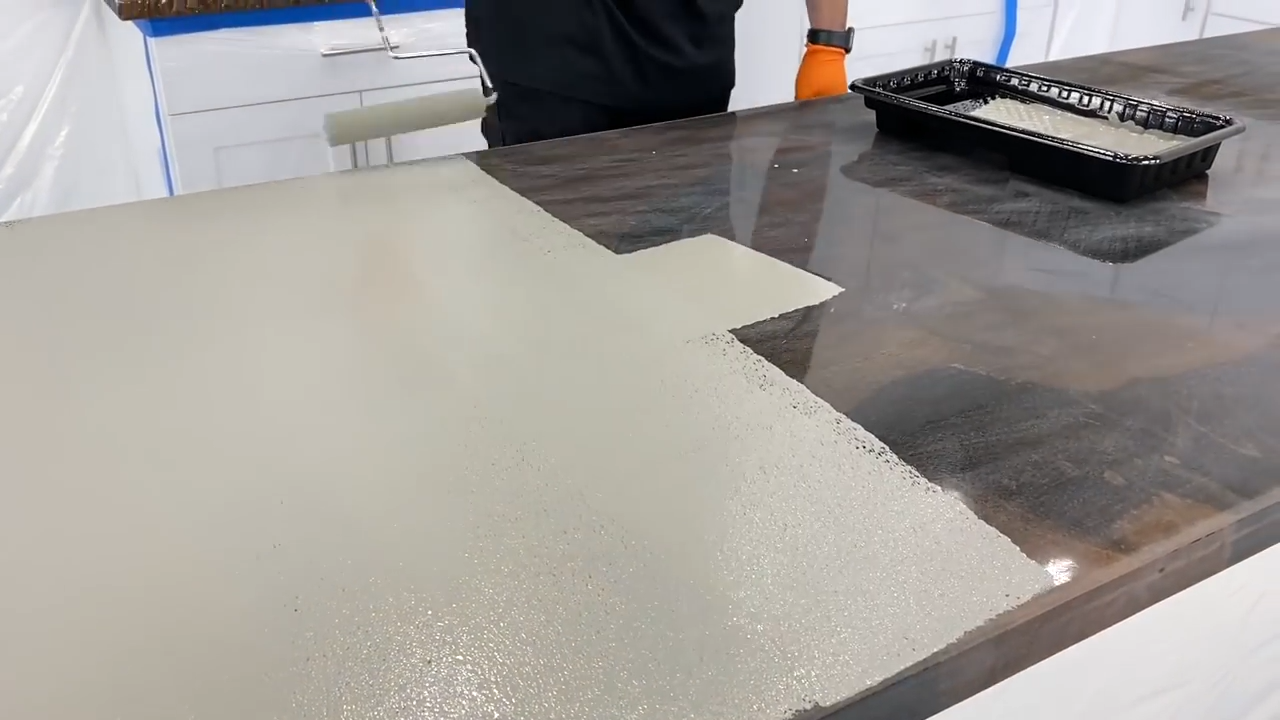
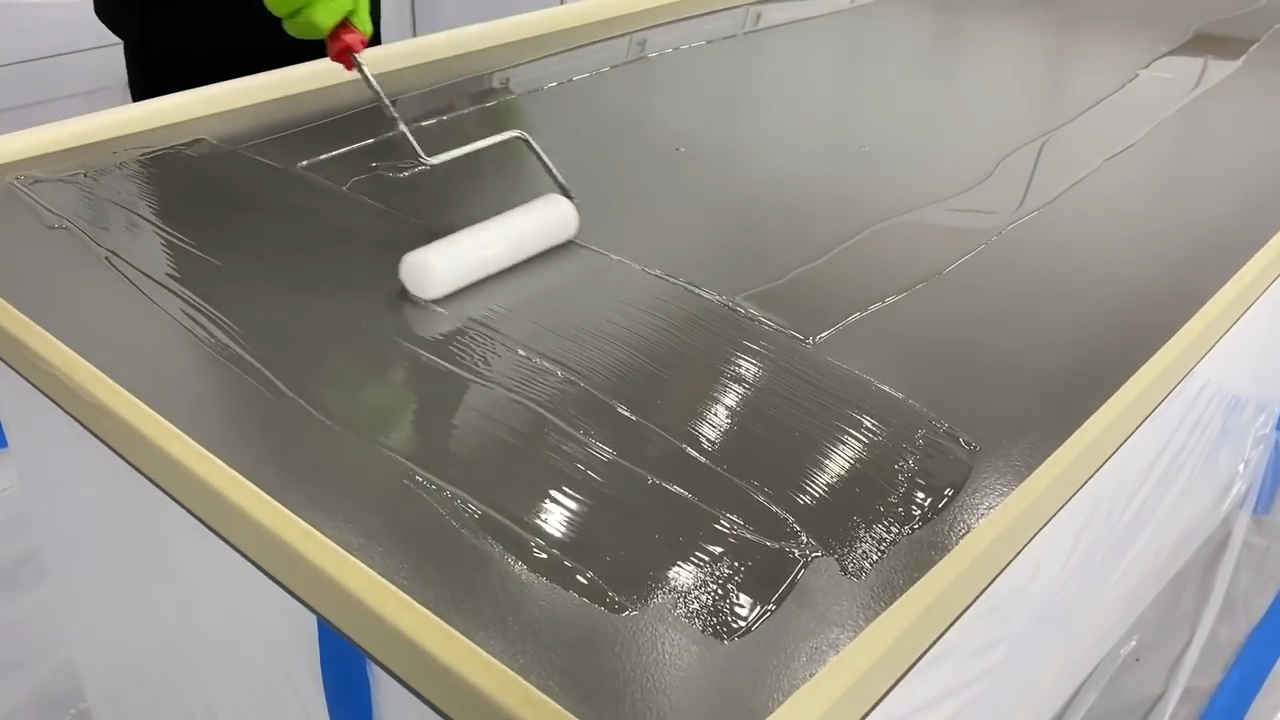
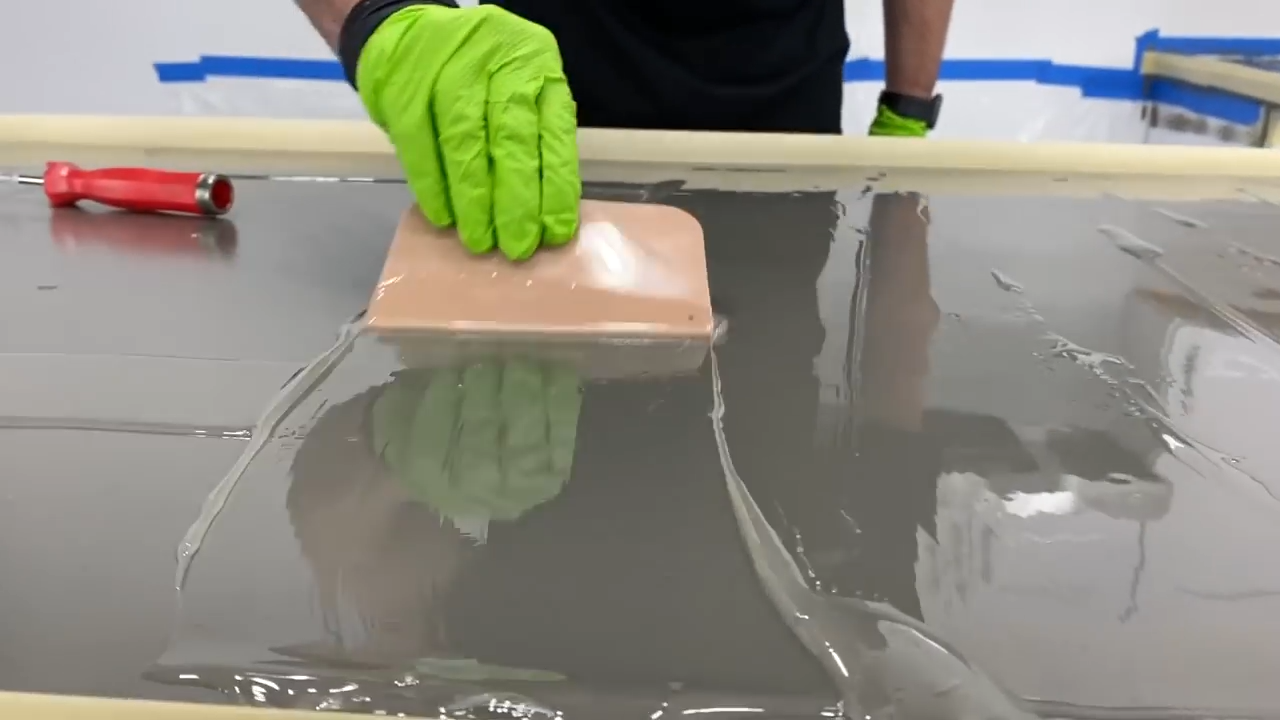
PHOTO OF APPLYING THE RESIN PAINT IN PLAIN COLORS.
As this paint is a 2-component resin (component A epoxy resin and component B catalyst or hardener), it is necessary to mix them in a certain proportion, which we explain in the technical sheet of the product.
It is very easy to apply, you just have to bear in mind that the life of the mixture has a life time, it dies or hardens from the moment you mix them, so you only have to use the amount of material that you are going to spend at that time.
Epoxy resin supports many chemical agents such as detergents or cleaning products, but ... be careful! It is not indestructible, if you brush them with enough force or with a sufficiently sharp object you could damage it.
Epoxy resin paint, like many melanin countertops, also does not resist well certain very aggressive chemicals such as solvents or undiluted abrasives.
It resists high temperatures (even more than 100 degrees), if it is a short period of time (you support a pan for a moment) but you cannot leave too hot pans or saucepans, you can spoil it.
It can be cleaned with grease remover or household detergents without any problem, supporting all kinds of kitchen objects and working on it, but if you are going to use knives, we advise you to use a board.
In case your top is going to have a great external aggression, because it is located on a bar counter, on a worktop or counter in a store or hotel, we advise you to put a varnish with anti-scratch additives on top of the paint.
For a particular use, it would not be necessary, our epoxy resin paint is of very high quality, so it serves as a finish, without having to varnish it on top.
You can apply a two-component varnish with anti-scratch additives for surfaces that are going to have excessive friction, and a lot of aggression, such as bars, restaurants, etc ...
Apply a first coat in the same way as paint and let it dry for 8 hours . Then apply the second coat in the same way .
This paint and varnish stand out for their great hardness and resistance to scratches and scratches .
And also, if by accident the varnish were damaged, you would only have to sand the surface with a P500 grit sandpaper, clean and reapply the same varnish on top and ... It would be like new again!
CLICK HERE TO BUY EPOX RESIN, I 100% SOLID, SELF-LEVELING IN CUSTOM COLORS ![]()
CLICK HERE TO BUY TRANSPARENT EPOXY RESIN TO ADD ALUMINUM PASTE OR METALLIC PIGMENTS. ![]()
Comments (1)