
Shopping Cart

- -15%
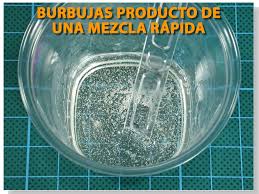
There are some tricks you can follow to avoid the appearance of bubbles when working with epoxy resin. If you are a little cautious and follow these tips, you will prevent bubbles from appearing once the mixture is already dry.
It is important to try to mix gently and for a longer time, rather than shaking it briskly and quickly. Even so, you will have some micro bubbles that will be noticeable once the mixture dries.
If you let the mixture sit for a few minutes before applying it, you will see that many of the large bubbles will disappear.
When the epoxy resin or component A of the mixture is quite dense, it is convenient to heat the resin a little or have it near a heating device, you will see how the bubbles will rise more quickly to the surface.
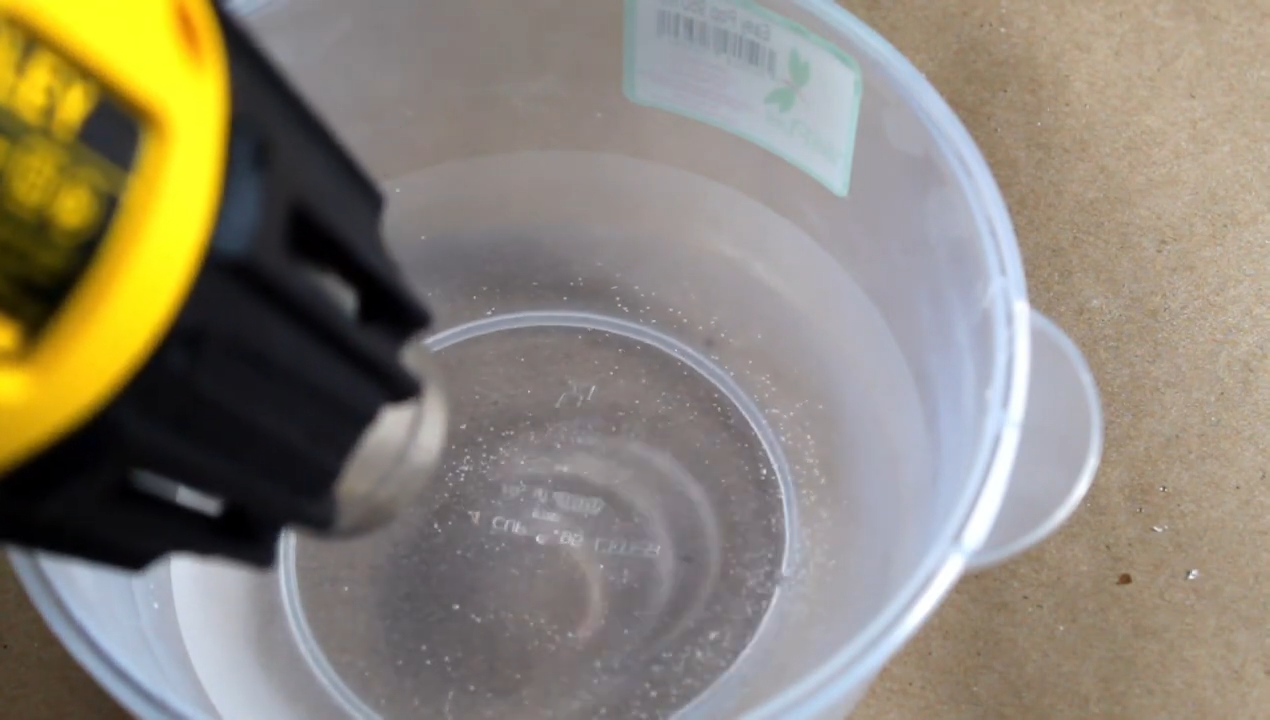
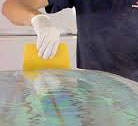
You can also help yourself with a hot air gun, or a hand dryer (depending on the amount of resin you are using, these devices can go very well.)
You should be a little careful, and do not apply excessive heat.
The ideal temperature for applying the resin is about 23 degrees, if you heat it excessively, the mixture can die very quickly and you do not have time to work it properly.
If you need more time to apply it, since you are using it on a large surface or doing more laborious work, you can mix with less material so that the mixture does not die.
If you are going to make an encapsulation of many mm thick, or you are going to build a table or table, where you need a large layer of resin to fill the mold, we advise you that instead of doing it in a single layer, you go making less layers thick so that in each layer the bubbles can come out and the final finish is perfect.
If the layer is too thick, it could happen to you in some cases, depending on the drying of the resin, a mass effect in some piece (it loses transparency)
This effect can also happen to you by using a resin mixture that is already dying, because it has been mixed for a long time and it is very hot.
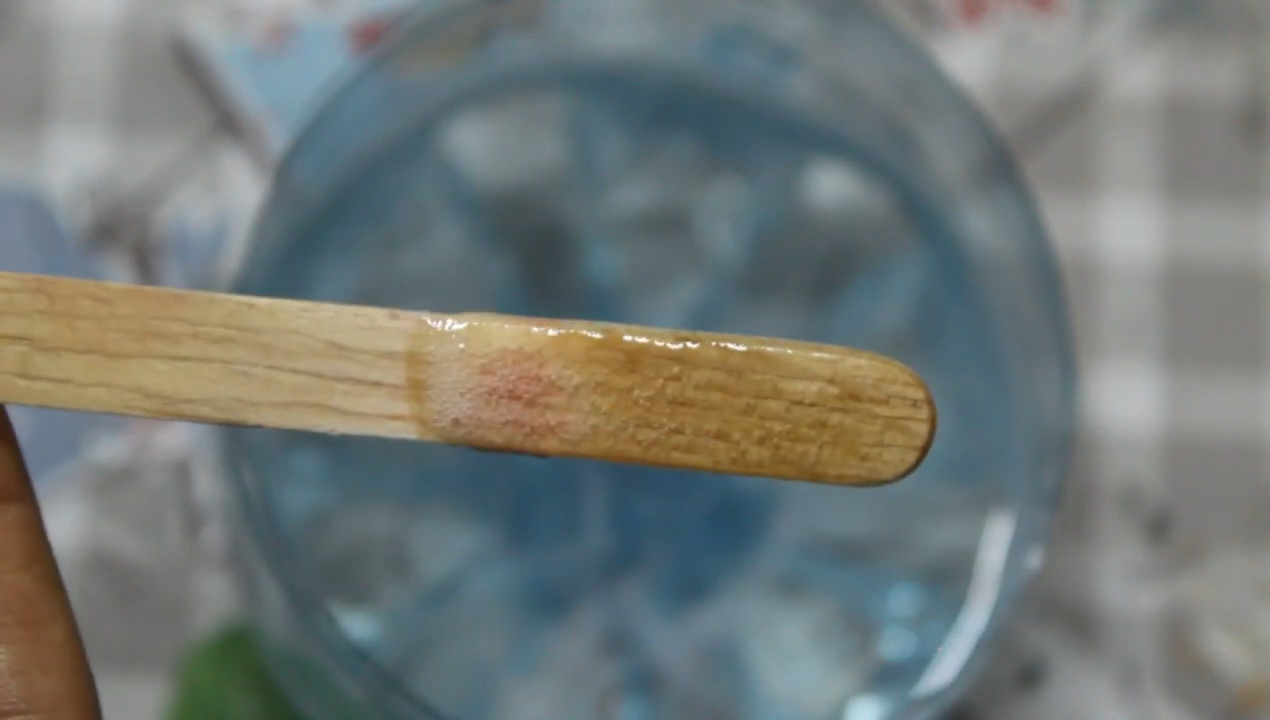
Once you have shaken the mixture and added the solvent, (if necessary, following the supplier's advice), you can put a stick in the pot of the mixture and let it rest for about two or three minutes.
Much of the bubbles that remain in the mixture will stick to the stick, so when you remove it, the bubbles will disappear. (Remember that the micro bubbles, you will not see them at this time, but they will appear as the resin dries)
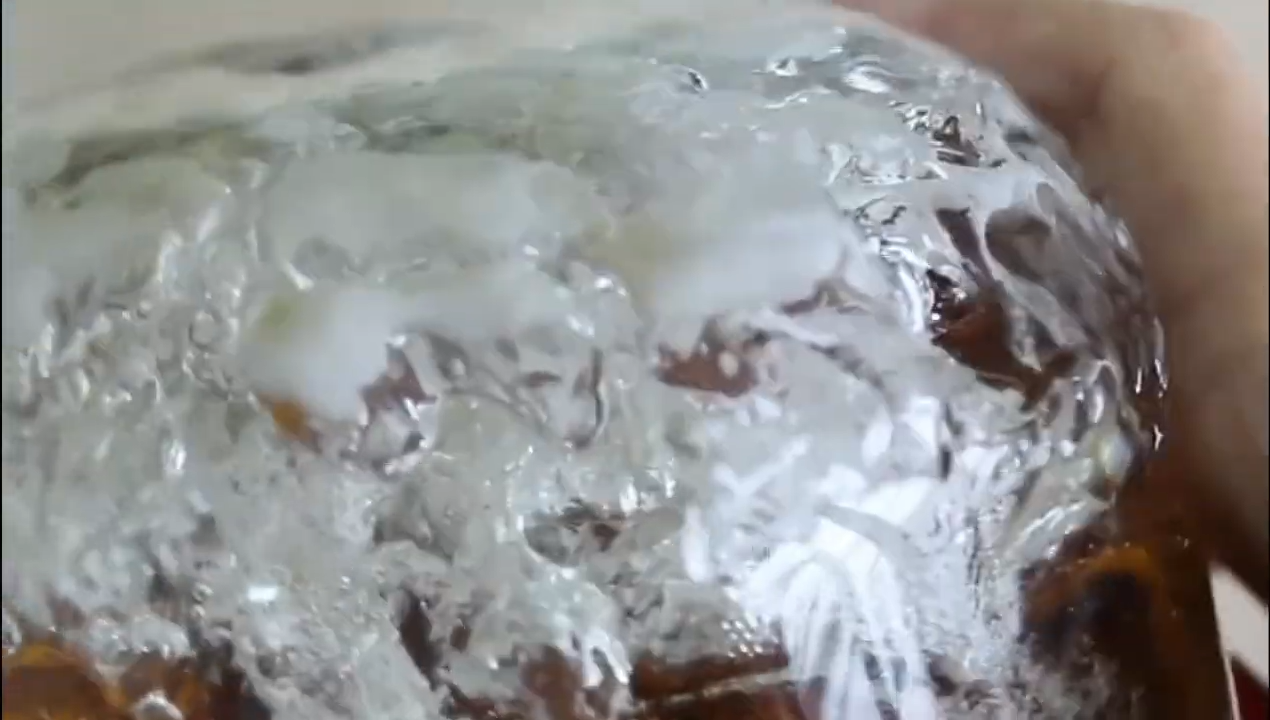
When pouring self-leveling epoxy resin, especially on surfaces that are not uniform, bubbles may appear.
In this case, we must wait for the bubbles to rise to the surface.
If you see that they are formed, but they take time to rise because the resin is very dense, you can help them up with a sharp object.
Once the bubble is on the surface you can apply heat to it.
On large surfaces and with a large layer of epoxy resin, we advise you once you have poured the resin, and you have let it rest for a few minutes, but above all, before the mixture begins to die, pass a roller with spikes, to help bubbles get out and remove as much as possible before resin drying.
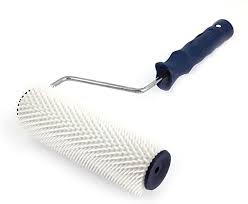
You will have to bear in mind that if you are making drawings with colors or metallic pigments, if you pass the spiked roller, it will spread the epoxy resin, modifying your drawings. (In this case, if you want to make a countertop imitating marbling, etc., you should not roll or we advise you to do a test first)
If the surface is very small, instead of using a roller, you can use any sharp utensil, (awl, pin, toothpick, etc ...)
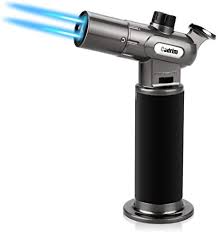
We can use, depending on the size of our work, a kitchen lighter, a flame for a gas cylinder, etc ... Above all, be very careful, not to apply excess heat, and not to burn yourself, of course!

You must be patient, with the drying time of the mixture, it will depend a lot on the density of the resin and the mm or cm of epoxy resin layer that you have applied.
The drying time of the resin is usually between 24 to 48 hours, but that does not mean that it has reached its maximum hardness and the total drying of it.
We advise you to look at the technical sheet of the resin supplier, where it will indicate the drying times, repainting, etc ...
These times are usually in conditions between 21 and 23 degrees. If the room temperature is lower, the drying time will decrease, it may not dry well, or it may lose its transparency a bit in the case of self-leveling epoxy varnish, if it is epoxy resin in colors or with pigments, you will not notice any difference in terms of transparency.
Epoxy resins begin to harden when component A is mixed with Component B, by chemical reaction.
If the room temperature is around 21 to 23º, you will have more time to work it than if the temperature is higher. You should also be careful with drafts, if you are near a door, etc ...
If you are applying it in several areas, (for example if you are making a mirror effect floor, etc ... there will be areas where the resin hardens earlier than in others, due to air currents, and the variation in temperature of the different rooms .
You will have to try that the resin does not dry, before the bubbles can rise to the surface, to be able to remove them.
It is convenient that once you have applied the epoxy resin, you protect the surface from possible suspended dust that may be in the room and that then when it settles, it stays stuck.
We advise you to close doors and windows so that there is no draft and the entire surface dries equally.
If you are doing small jobs or that you can cover without rubbing them, we advise you to do so, but you will have to take into account that since there is no air current, and less evaporation, the drying time may vary a bit.
The 100% solid resin has the ability to self-level, if what you want is to fill a mold, you will not need any material.
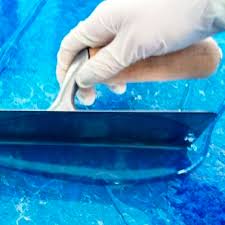
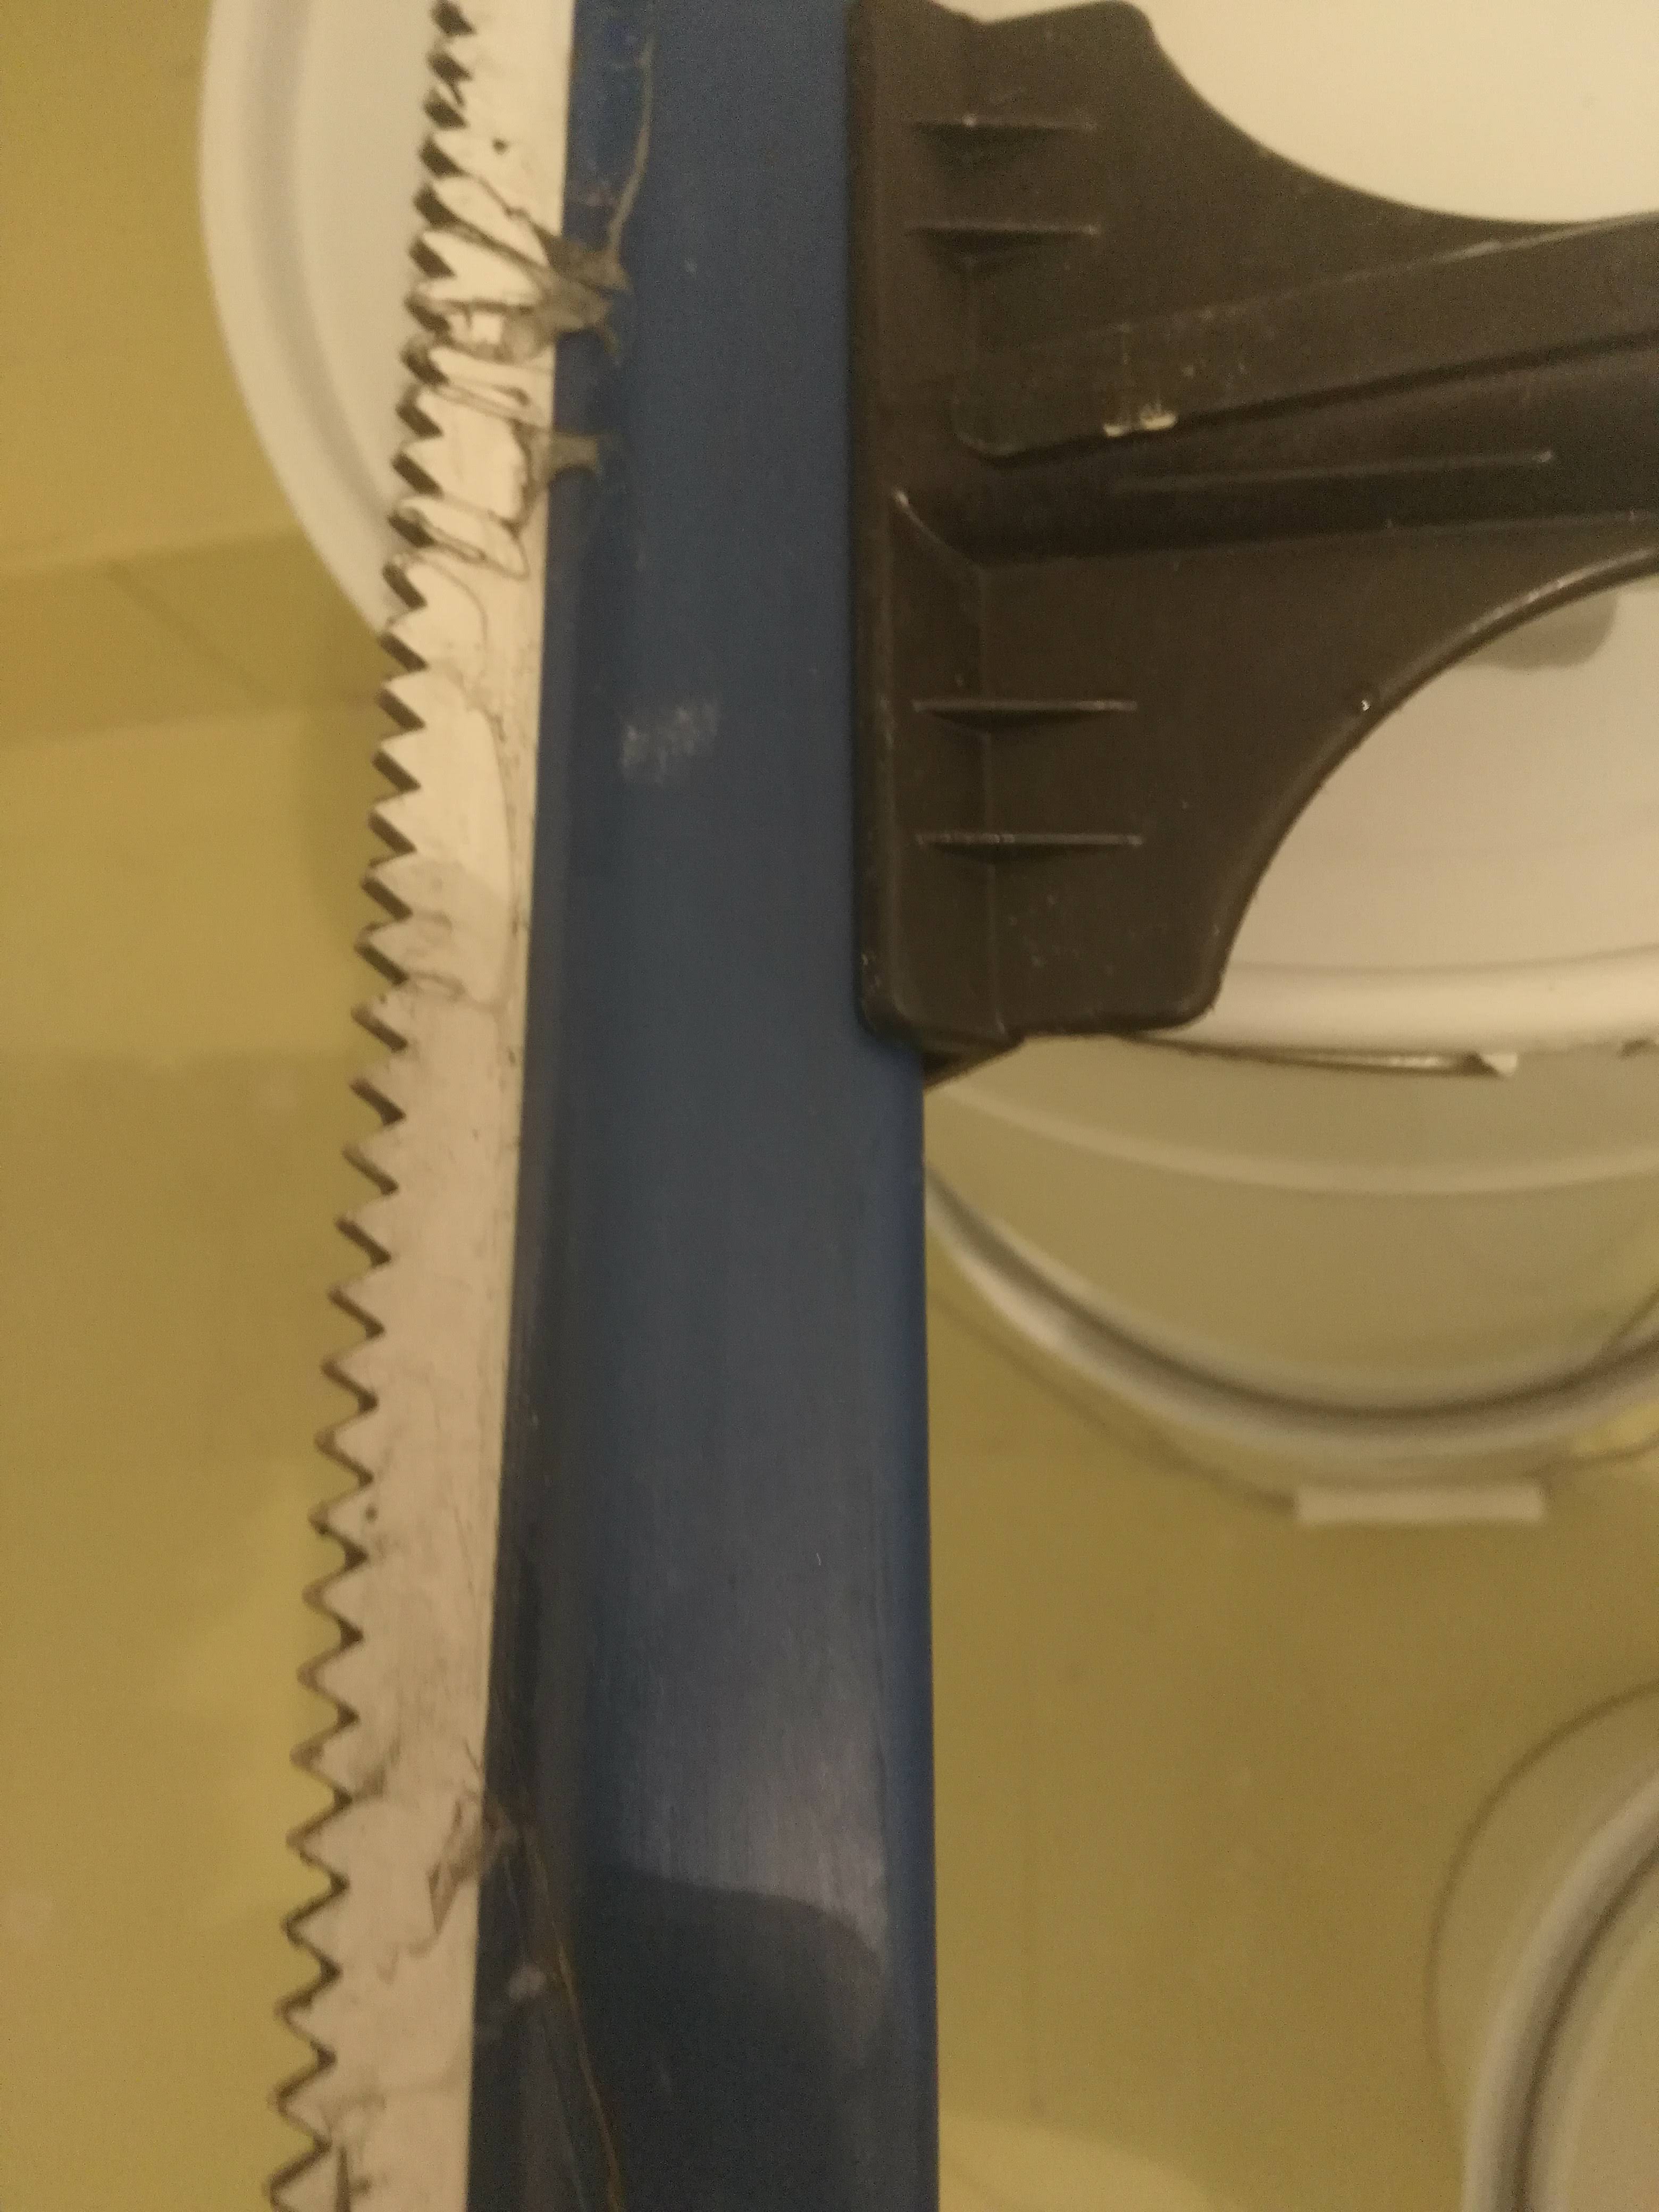
If the surface is a little larger, you will need to use a spatula, a glass cleaner to spread the mixture, and leave more or less the same amount of resin over the entire surface.
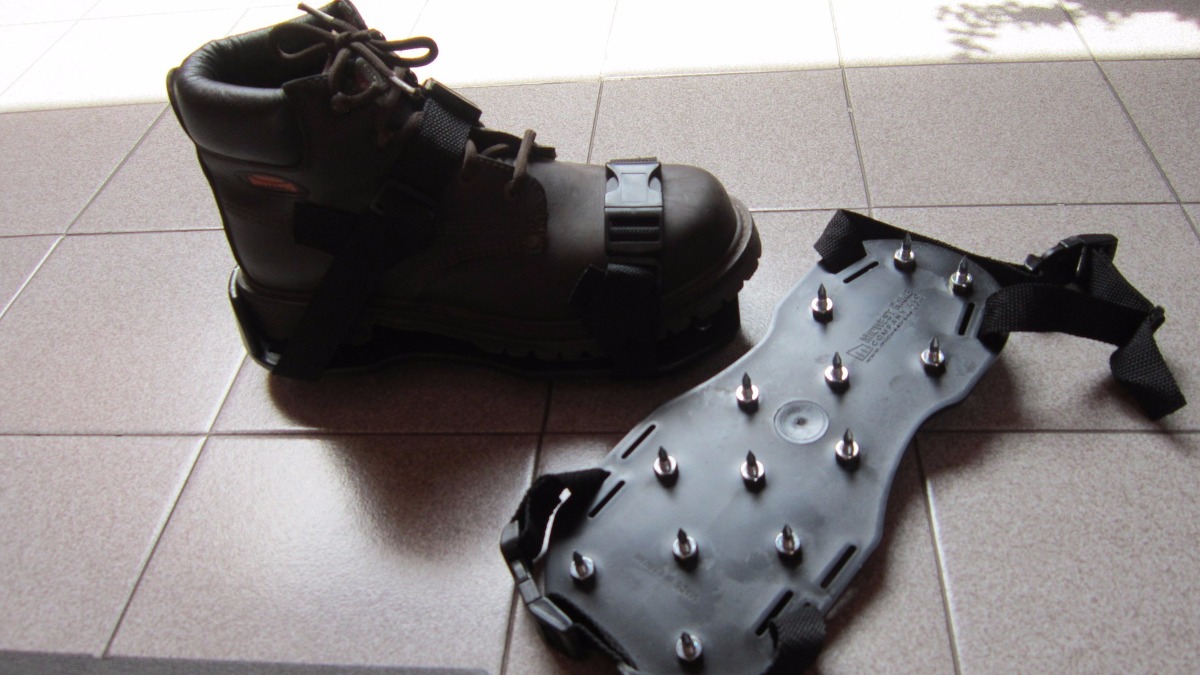
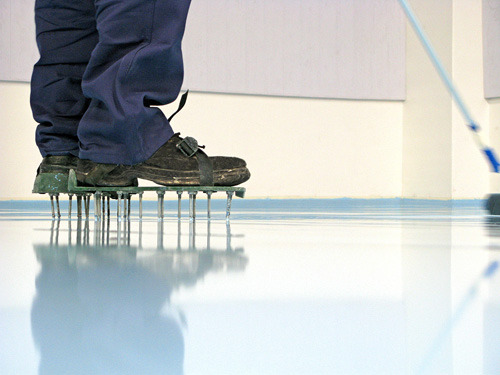
If you are applying a mirror or 3D effect floor, or a liquid porcelain floor, then you should use spiked shoes, a deaerator roller with spikes to remove the air from the resin so that the bubbles rise to the outside and a toothed spatula, to leave the same mm of material all over the floor, filling any gaps.
If the joints of the floor tiles that you want to paint with epoxy resin are very large or thick, and the gaps that exist exceed 1.7 mm, we recommend that you place a mesh in the joints of the tiles so that the epoxy resin fill better.
If the mm to be filled are more than 1.7mm you will have to apply several layers of epoxy resin to achieve the appropriate thickness.
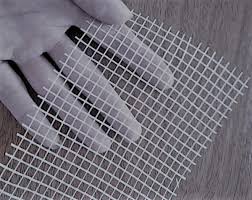
With the mesh in the joints of blaldosas, you will achieve that the marks of the tiles are less noticeable, so you will need less amount of material in those areas, to achieve a smooth, smooth effect
Comments (7)